

Reusable iframe Widget
I know, I don’t recommend this method at all. But on occasion we all must do things we don’t like. I’ve seen this come up a few times in the community and decided to throw together a simple how to. Adding an iframe to the portal is easy. Below I walk you through creating a simple widget that allows you to set the URL of the iframe in the instance options.
Create a widget

Add a little code
Throw some html to load the iframe. Note that I am pointing it at “”. This is important as it is what allows you to set the url that the iframe is pointing at in the widget instance options, making the widget reusable.
<iframe src=""> </iframe>
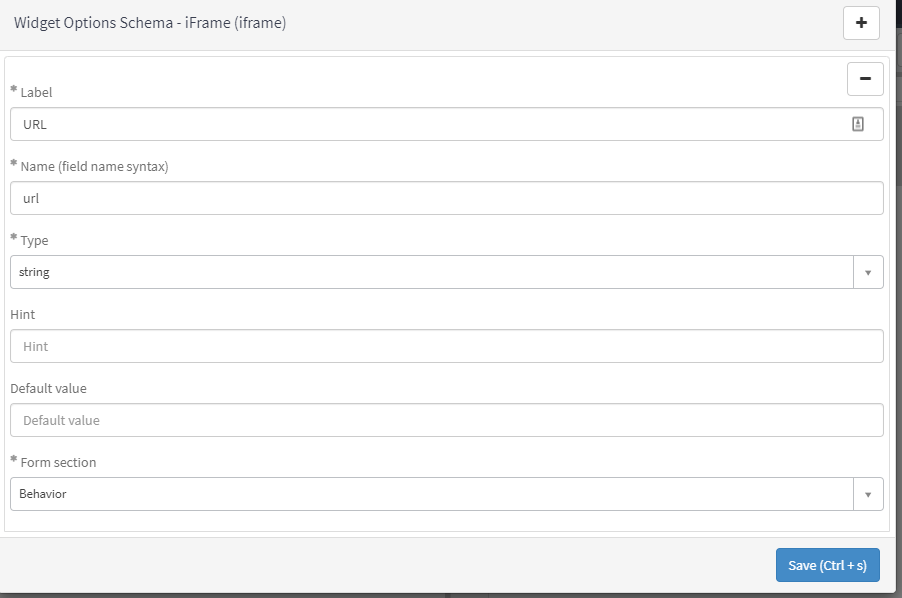
Setup your widget option
Ensure that the name of your widget’s option is the same as the option you call in your iframe code and save.
And that’s it! Now just place your widget on a page, set the url in widget options and you’re good to go. (As a note, you will not be able to ctrl+right click on the widget in the portal like you can others to set the instance options. You will have to do so through the Designer or the widget instance) In the image below, I’ve set the URL to a system dashboard. I’ve also added some CSS to the widget to make the iframe a bit more responsive. Here is a link to the version I created if you’re curious.
Enjoy! (And never do this unless you have too. iframes are bad!)
